
Arguably one of the most famous desserts of all time, Chocolate Molten Lava is the most sought-after recipe. It is also one of the most available desserts, available at every corner store or in 5-star restaurants.
However, every chocolate molten lava may differ from the others due to the ton of variations. Each region adds its own touch of variation to the recipe, and although that may work, the original one is hard to find. The original chocolate molten lava cake was a french creation by chef Michel Bras in 1981.
Another popular French Chef, Jacques Torres, confirms his creation. Chef Jean-Georges Vongerichten says that he created the dish in 1987 and was partially responsible for popularising the dessert in the United States, putting the molten lava cake on the menus of high-end restaurants in the 1990s.
That said, chocolate lava cake is also a fairly tough recipe to nail since there are many variables, and each aspect of the dish has to be perfect. Gather your ingredients because this trip will be tough. However, the final result will be so satisfying once you dig through the molten chocolate in the cake that you’ll impress even the best of the best.
Unlike other traditional desserts, Chocolate Molten Lava Cake takes fairly less time and ingredients since most of them will probably be available in your kitchen, considering that lava cake is just an underbaked version of a brownie.
This recipe will surely make things easy by breaking down each step and giving a better understanding of how to make a chocolate lava cake with the signature runny chocolate centre.
List Of Ingredients You’ll Need
Even though Chocolate lava cake looks complicated, the recipe only calls for basic ingredients and can be insanely customised with more on top.
- 3 whole eggs and 3 egg yolks
- ½ cup granulated sugar
- salt
- vanilla extract
- 200grams of bittersweet chocolate
- ½ cup unsalted butter
- ¼ cup all-purpose flour
Procedure
To start, take your 3 whole eggs and beat them together with 3 egg yolks. This adds extra thickness and creaminess to the recipe while adding stability. At the same time, incorporate a pinch of salt and a tbsp of vanilla extract. Follow by half a cup of sugar after the egg mixture has been blended halfway through.
Next, heat a pan of water over low heat and place a metal bowl on top. Add your shredded chocolate bar to the bowl and slowly melt it under the steam. At the same time, add your unsalted butter to the pan and melt them together.
Take your melted chocolate ganache and slowly fold it together with the egg mixture. We want to avoid potentially scrambling the eggs or even cooking them.
To finalise your batter, add ¼ cup of flour to the mixture. Then, put it in a dish and put it in the fridge to cool. For a gluten-free option, flour can be substituted for cocoa powder, which will add a more chocolaty flavour but with the same rich texture. Personally, I like to add a pinch of baking soda which can help the cake rise, but the original recipe is intended for a flat one so you’ll be just as fine without.
To begin the baking process, take a few Ramekins, as much as the batter can be filled in. Butter the insides of the Ramekin and coat it with all-purpose flour to prevent the batter from sticking to the surface.
Scoop out the batter and fit it inside the Ramekins. Next, bake at a preheated oven ramped up to 220C/425F for 10-12 minutes. If you don’t have Ramekins, you can use Muffin Tins or aluminium foil moulds shaped into Ramekins.
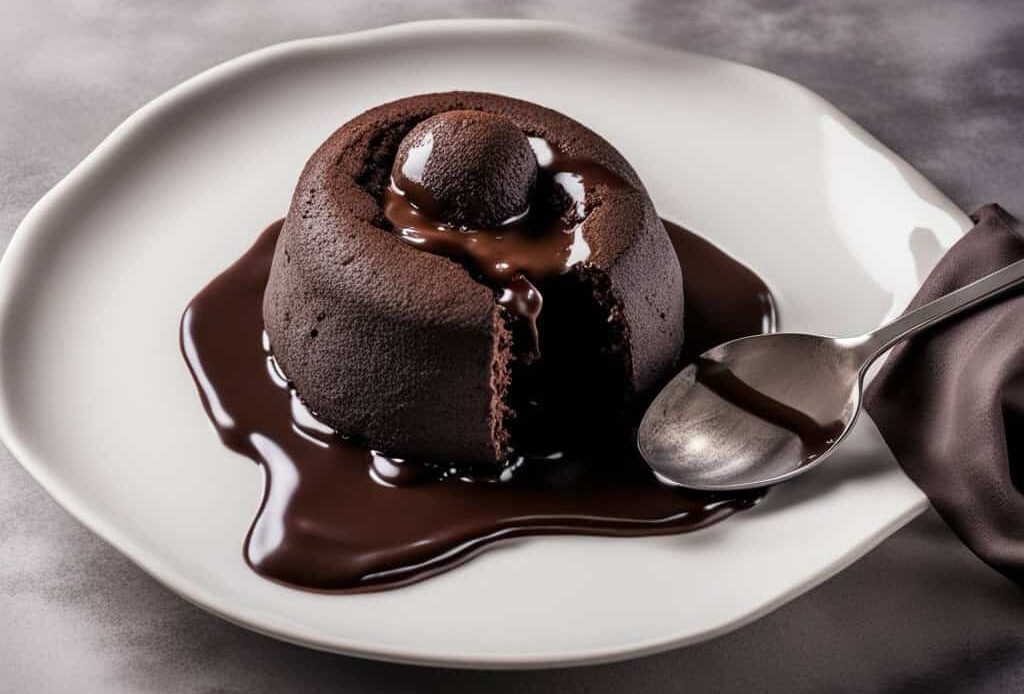
The final result should be a cake with firm, crisp edges but a gooey, molten chocolate centre.
Experimenting With Different Toppings
As I previously said, chocolate lava cakes are insanely customisable. You can top them off with various ingredients. The classic recipe involves topping the lava cake with cranberry sauce.
It’s quite easy to prepare. Take 4 cups of cranberries, 3 quarter cups sugar, some lemon zest, half a cup of orange juice, and honey, and prepare in a hot pan for 15 minutes. There you have it—the perfect homemade cranberry sauce that can be used beyond just a Chocolate molten lava cake.
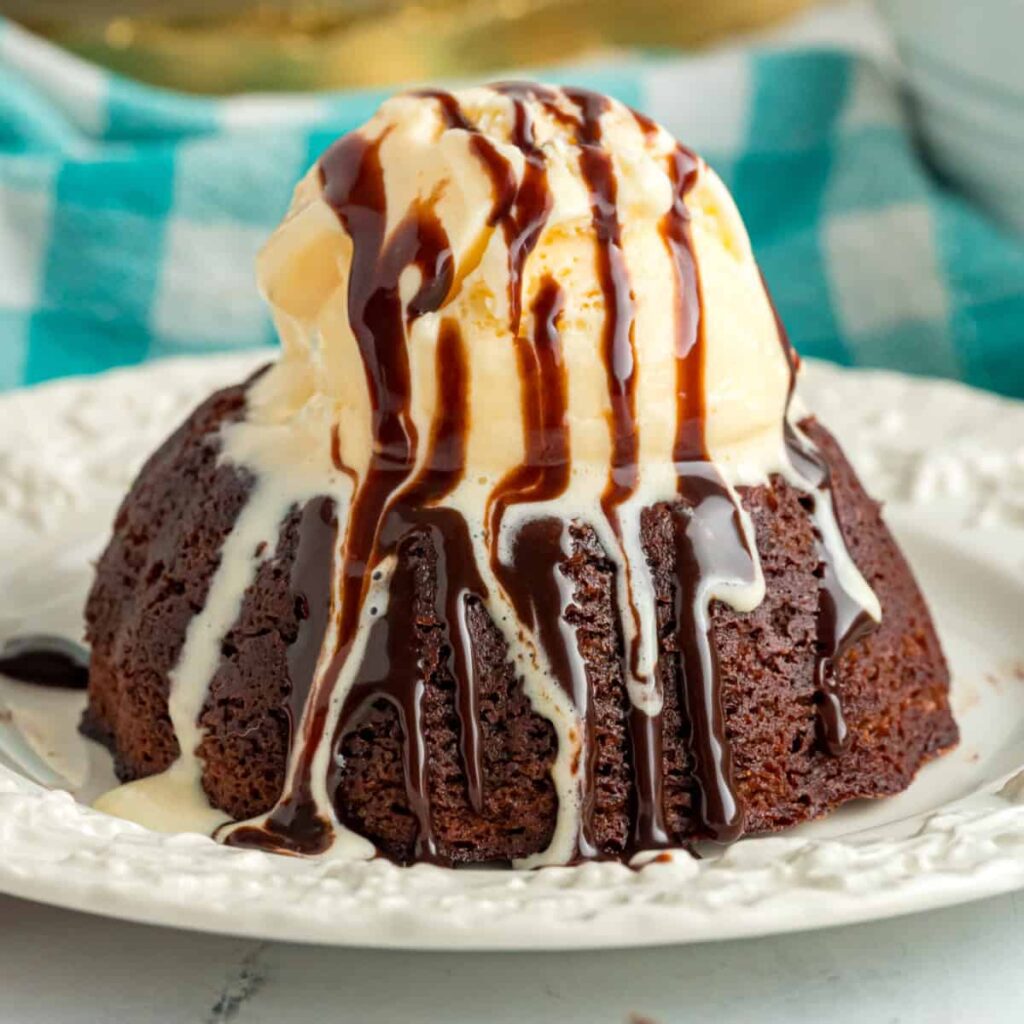
Alternatively, you can just throw a scoop of vanilla ice cream on top of the chocolate lava cake and dig into it, perfectly delving through the chocolate and vanilla flavours like yin and yang.
Otherwise, prepare a chocolate sauce to drizzle on the Chocolate molten lava cake. To prepare, take one cup of cold heavy cream and incorporate some semi-sweet chocolate after putting it on a dish on top of a pan with water. Incorporate and store it in a bottle. Take your molten lava cake, sprinkle some powdered or confectionary sugar, then drizzle the chocolate syrup on top and serve. Voila!
Notes
For tips, I recommend checking your lava cake every 5 minutes and not overcooking it too much. The dish calls for an undercooked centre, and being an egg-focused cake, just like a cheesecake, we wouldn’t want to dry out the cake.
Like I mentioned earlier twice, the recipe is highly customisable and while I have listed several ways to top the final lava cake, you can also make several changes to the cake itself aside from the toppings.
For a different cake flavour, you can add espresso powder or instant coffee to the egg mixture, which will give the lava cake a perfect balance of chocolate and coffee taste that complements each other well. Otherwise, you can add orange zest for a citrus flavour or almond and hazelnut extract for a nutty and buttery effect that compliments the egg-focused quite well.
I highly recommend not substituting any ingredient from this recipe because it can greatly affect the texture or moisture of the dessert, which could lead to a potential disaster.